3D Printing, or simple low-cost solutions to complicated problems: A case for 3D printing in the lab
- Malcolm McMillan

- Nov 20, 2020
- 4 min read
Updated: Nov 24, 2020
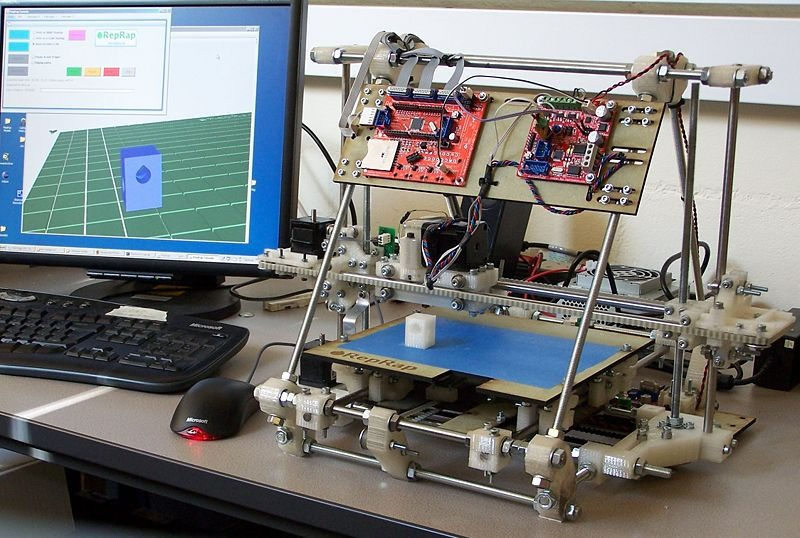
In 2009 a patent filed by S. Scott Crump met its 20 year limit. The 1988 patent was granted for a fused deposition modeling (FDM) machine, where thermoplastic was extruded from a heated nozzle on to a surface. Before this anyone making an FDM printer (the common “3D printer” now) would have to pay Mr. Crump’s company Stratasys a fee. 3D printing expanded by leaps and bounds after 2009. Multiple open-source DIY projects started to gain traction, particularly the “replicating rapid prototype” or RepRap project at the University of Bath. In hindsight this was seen as the start of contemporary 3D printing.

The basic principle of FDM 3D printing is simple, some material is extruded from a nozzle following a CAD model and layer-by-layer the additive process builds an object. Any material that flows and then stiffens can be 3D printed, various plastics, cement, clay and rubbers. Another common type of printer uses stereolithography (SLA) where a liquid resin bath is additively cured by a laser as the 3D object rises from the bath. More complex 3D printers use a technique called selective laser sintering (SLS) where a fine powered material is selectively sintered by a laser, then a new layer of material is deposited on top and again sintered. This allows for printing high-temperature plastics like nylon and even some metals.

Which technique should be used depends on the application. FDM printers are cheap, simple, reliable and easy to understand but they require support structures and printed models are relatively low fidelity. SLA printing is ultra-high definition and produces smooth-walled objects that require very little support structure. However, SLA is messy, slow, and is more constrained by build volume. SLS printing requires no support structure and is the only method that prints metal and high temperature plastics but there is currently no consumer minded SLS printer (costs exceed $20,000) and they tend to have a massive footprint and require a second machine to remove the un-sintered powder. Currently SLA and FDM printers dominate the market.

Thanks to the millions of DIYers and thousands of start-ups, you can now buy a reliable 3D printer (FDM or SLA type) for a few hundred dollars, or even less if you’re willing to construct it yourself. Top of the line consumer printers can be bought for less than $1000 and most can be upgrade and easily serviced by the average user.
So why would a lab want to invest in a 3D printer? That is a complicated question to answer since it depends on what is needed, as I’ve found the best applications are unique and personal to the user. At the very least I hope this will help you realize what is possible through problems we’ve solved with 3D printing.
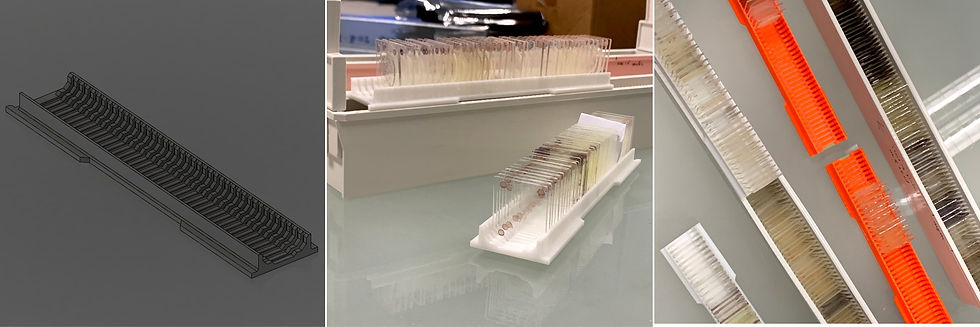
A few months ago, our lab was running out of space to store our glass slides. The holders we’ve used for decades started to reach capacity. However, at some point we switched from full length EDM slides to smaller 30x25mm slides. The holders were at the same time full and half empty. Two days later, we nearly doubled each holder’s capacity with a simple print. Each section cost $0.21AUD, the total cost was much less than $5. I don’t know how much it would have cost to have these produced elsewhere but I’m pretty sure it would have been more than $5 and ~6 months later.

How do you securely ship 2 slides for analysis? This was question was asked and we realized there was no good answer. No one makes a 2-slide holder, especially for the custom sized slides we use. You could use a larger container filled with tape and bubble wrap but that seems wasteful and inefficient. We 3D printed a custom box, sized perfectly for 2 of our slides, and used the stiff flexing properties of plastic to make sure they stayed secure. Total print cost: $0.62

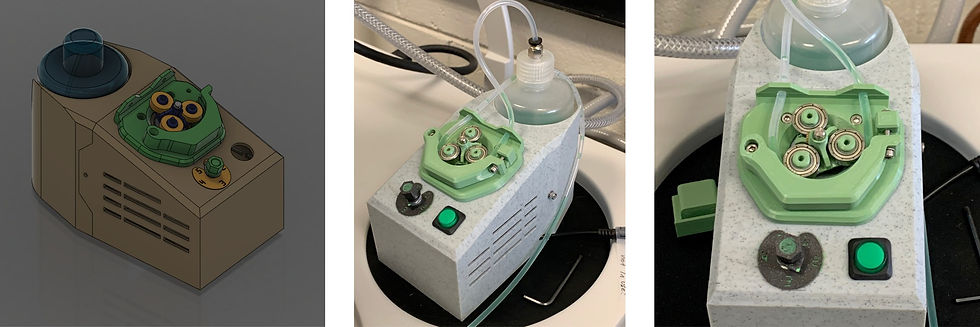
There is some equipment that would be nice to have but not completely necessary. For us a peristaltic pump fell into this category. However, after scouring various DIY projects on Thingiverse, I came to realize it would be easy to construct one. Using a 3D printed body, a cheap stepper motor, an Arduino and microcontroller. A simple pump with variable speed filled our dosing needs. The printed parts and hardware cost about $2.50, the electronics were found for less than $20 on eBay and Alibaba.

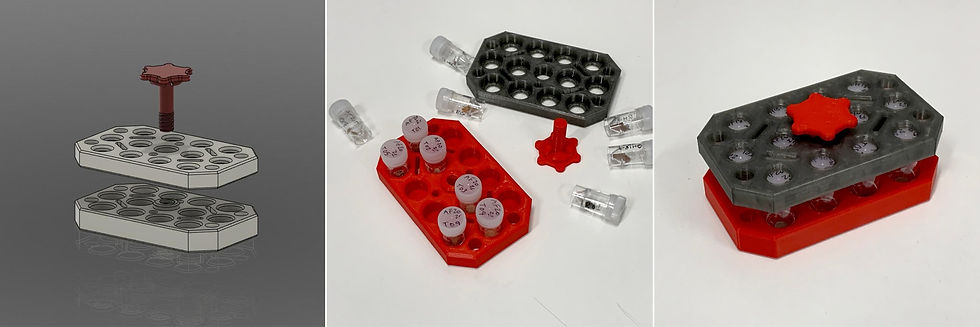
I have a recurring nightmare: minerals spilling out from non-secure vials during shipment. Luckily, it has not become a reality and now it will not! This holder secures 12 vials with a large screw lid. It is completely printed at a total cost of $1.67.

One last example involves our radioactive Californium source (Cf-252). We place slides on top of the Cf source holder to implant fission tracks. As one can imagine, it is best to stay as far as possible from the source, we use tongs to balance the slides on the surface of the holder. This generally works well but 1/50 slides will shift position or fall off. To that end, we printed a set of holders that secure the slides in place and auto-center on top of the Cf holder. An added benefit is we now queue slides to go in and anyone familiar with the set up can place slides at the proper orientation.

From our perspective, the main benefit of 3D printing is the low cost, incredibly fast turn around and completely unique solutions. Up until now we’ve mainly used for efficiency and house keeping tasks. Who knows how we’ll utilize 3D printing in the years to come. At the risk of sounding cliché, the possibilities are endless.
Links and recommendations
3D printers and filament: https://shop.prusa3d.com/en/
3D models: https://www.thingiverse.com/
McMaster includes CAD models for all of their products: https://www.mcmaster.com/
CAD Software: https://www.autodesk.com.au/products/fusion-360/overview


Comments